 Save
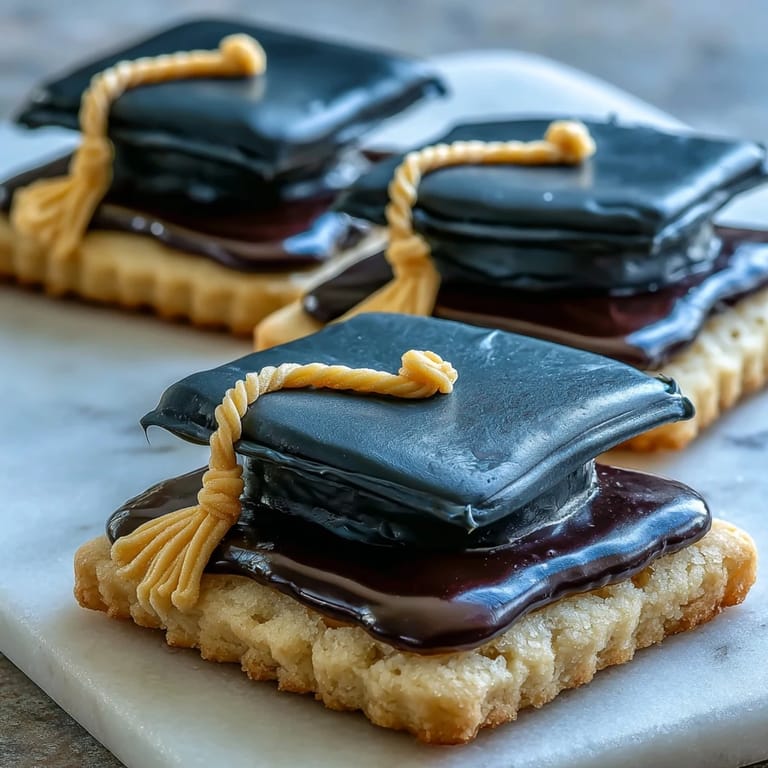
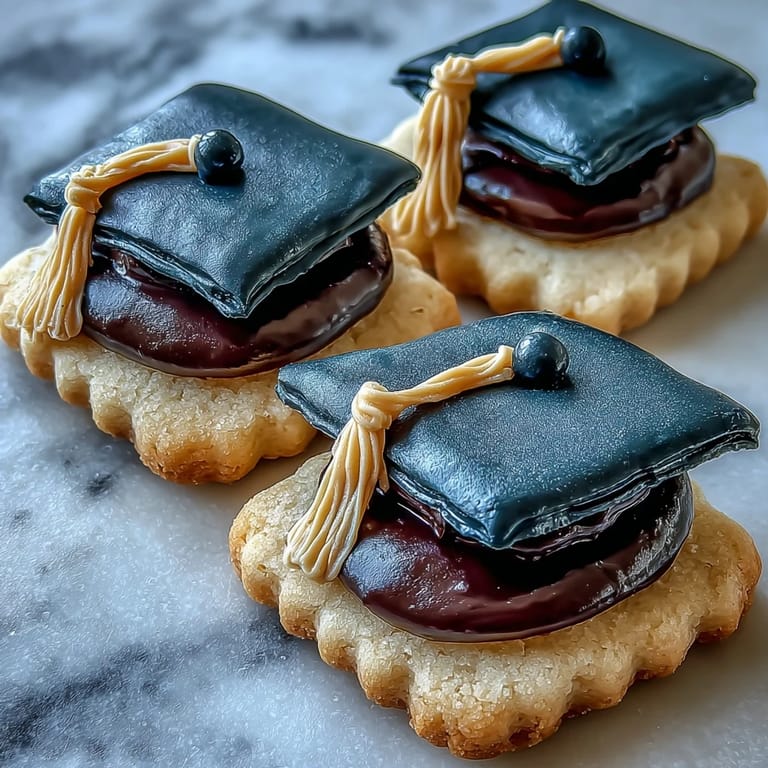
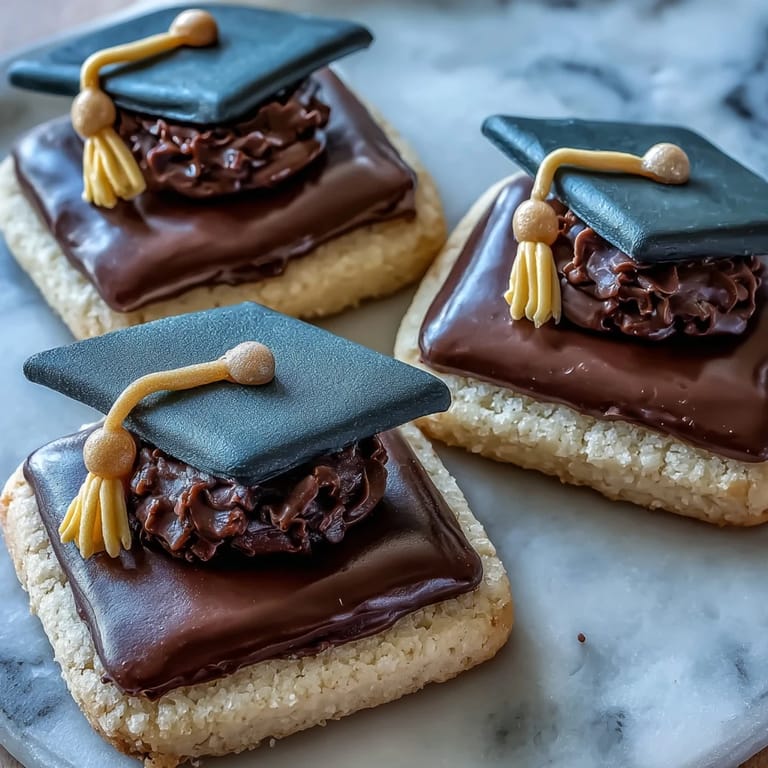
Save My niece's graduation snuck up on me like it always does, and I found myself frantically searching for a dessert that felt special enough for the occasion. These sugar cookies with fondant mortarboards came together almost by accident when I realized I could combine something I already knew how to make with a little fondant magic. The first batch I made was slightly lopsided, but watching her face light up when she bit into one made every wobbly mortarboard perfectly worth it. Now, whenever someone mentions they're celebrating a graduate, I immediately think of this recipe as my secret weapon.
I brought a batch to my book club right after my niece's graduation, and honestly, watching these cookies disappear in minutes was almost comical. One woman asked if I'd gone to culinary school because apparently a mortarboard on top of a cookie felt fancy enough to warrant that question. The real magic happened when someone asked if I could make them for their son's graduation party next month. That conversation turned this recipe from a one-time celebration into something I now make every spring.
Ingredients
- All-purpose flour: This is your foundation, and you want it measured correctly to avoid dense cookies, so spoon and level rather than scooping straight from the bag.
- Baking powder: Just a half teaspoon does the job here, giving you cookies that rise slightly without becoming cake-like.
- Salt: Don't skip this; it makes the butter and vanilla actually sing in the background.
- Unsalted butter: Softened butter creams beautifully with sugar and creates that tender crumb you're after.
- Granulated sugar: The white stuff that makes everything delicious and helps create those slightly crispy edges.
- Egg: This binds everything together and adds richness without you really tasting it.
- Vanilla extract: Use the real deal if you can; imitation works but pure vanilla tastes noticeably better.
- Black fondant: This is what makes your mortarboards look official and actually holds its shape, unlike regular icing.
- Yellow fondant: The little tassel detail that transforms these from nice cookies into graduated cookies.
- Cornstarch: Keep this nearby when rolling fondant so it doesn't stick to your work surface and drive you absolutely up the wall.
- Powdered sugar: This makes your icing smooth and acts as edible glue for holding fondant pieces in place.
- Milk: Just enough to make the icing spreadable without making it runny and sad.
Tired of Takeout? 🥡
Get 10 meals you can make faster than delivery arrives. Seriously.
One email. No spam. Unsubscribe anytime.
Instructions
- Get your oven ready and line those sheets:
- Preheat your oven to 350°F and line two baking sheets with parchment paper so your cookies don't stick. This step takes two minutes but saves you from cookies that tear apart when you try to move them.
- Mix your dry ingredients together:
- In a medium bowl, whisk together the flour, baking powder, and salt until everything looks evenly distributed. This prevents streaks of unmixed baking powder that would give you weird-tasting spots.
- Cream butter and sugar until it's fluffy:
- Beat your softened butter and sugar together for about two to three minutes until it looks pale and light. You're aerating the mixture here, which is what makes cookies tender rather than dense.
- Add your egg and vanilla:
- Beat in the egg and vanilla extract until combined, and don't worry if it looks slightly curdled at first because it's supposed to. This takes about one minute of mixing.
- Bring it all together gently:
- Gradually add your dry ingredients to the wet mixture, mixing just until you don't see streaks of flour anymore. Overmixing at this point makes your cookies tough, so resist the urge to keep going.
- Roll and cut your cookies:
- On a lightly floured surface, roll the dough out to about a quarter-inch thickness and cut into two and a half-inch rounds or squares. I like squares because the mortarboards sit flatter on them, but rounds are perfectly fine if that's what you have.
- Bake until golden at the edges:
- Place your cookies on the prepared sheets and bake for ten to twelve minutes until the edges turn just barely golden. The centers should still look slightly underbaked because they'll firm up as they cool.
- Cool completely before decorating:
- Let your cookies rest on the baking sheet for a couple minutes, then transfer them to a wire rack to cool all the way through. Decorating warm cookies is a recipe for melted fondant chaos.
- Prep your fondant mortarboards:
- Roll black fondant to about an eighth-inch thickness and cut out twenty-four small squares for the mortarboard tops. Roll twenty-four tiny cylinders for the bases, each about a half-inch long, which gives you that dimensional look.
- Make your yellow tassels:
- Roll yellow fondant into thin ropes and cut them into one-inch pieces, shaping them however you'd like. I sometimes curl mine slightly so they look a little more realistic, but honestly, any shape reads as a tassel.
- Mix your icing until smooth:
- Combine powdered sugar, milk, and vanilla extract in a small bowl, stirring until you get a smooth consistency that's spreadable but not runny. This takes about a minute and is your edible glue for everything.
- Decorate each cookie with intention:
- For each cooled cookie, use a small dab of icing to attach a black fondant square in the center. Place a fondant cylinder underneath the square as the base, then use another dab of icing to attach your yellow tassel to one corner of the mortarboard.
- Let everything set before the celebration:
- Give your decorated cookies about twenty to thirty minutes to let the fondant firm up and the icing dry. This prevents the mortarboards from sliding around when you're moving them or stacking them.
 Save
Save There's something about handing someone a cookie that celebrates their achievement that feels more meaningful than just saying congratulations. My friend told me that her daughter kept the mortarboard from one of these cookies on her desk for an entire year, which completely melted my heart. Making food for celebrations turns out to be one of the best ways I know how to say I'm proud of you.
When Fondant Misbehaves
I learned the hard way that humidity affects fondant more than any recipe tells you. On a muggy June day, my carefully rolled squares started sticking to everything, and I almost threw the whole batch into the trash. The solution was keeping cornstarch nearby and working faster, which taught me to embrace the chaos rather than fight it. Now I'm actually grateful for those sweaty-handed baking moments because they taught me patience.
Cookie Texture and When to Pull Them Out
The trickiest part of this recipe is knowing when your cookies are actually done baking because they need to look slightly underbaked to be perfect. I used to pull mine out when they looked golden all the way through, and they'd end up crispy rather than tender. The sweet spot is when the edges are golden but the centers still look slightly pale, which feels terrifying the first time you do it. Trust that they'll continue cooking on the sheet after you pull them out, and you'll understand why everyone suddenly has strong opinions about cookie texture.
Storage and Scaling Tips
These cookies keep in an airtight container for up to five days, though honestly they rarely last that long. If you're making these for a graduation party with two hundred guests, I'd recommend making them two days ahead so you're not decorating the night before the event. The dough itself can be refrigerated for up to two days, which means you can do the baking one day and decorating the next, breaking up the work beautifully. Here's what I always do when preparing for a bigger celebration:
- Make your dough the day before and refrigerate it so you're not stressed on baking day.
- Bake your cookies early in the morning so they have all day to cool completely before you touch them with fondant.
- Color your fondant the afternoon before if you're using school colors, which gives you time to adjust the shade if something looks off.
 Save
Save Every time I make these cookies, I'm reminded that celebration food doesn't need to be complicated to feel special. What makes these cookies meaningful is the care you put into making them for someone you're proud of.
Recipe Questions & Answers
- → What type of flour is best for these cookies?
All-purpose flour provides the ideal texture and structure for these sugar cookies, ensuring a tender yet firm bite.
- → How do I prevent the fondant from sticking while shaping?
Lightly dust your surface and tools with cornstarch to keep the fondant manageable and prevent sticking during rolling and cutting.
- → Can these cookies be made ahead of time?
Yes, you can prepare and decorate the cookies in advance. Store them in an airtight container for up to five days to maintain freshness.
- → What alternatives can I use for decorating if fondant is unavailable?
You can use colored royal icing or edible wafer paper to replicate the mortarboard design for a similar decorative effect.
- → How should I store these cookies to keep them fresh?
Keep the decorated cookies in an airtight container at room temperature to preserve their texture and flavor for several days.