 Save
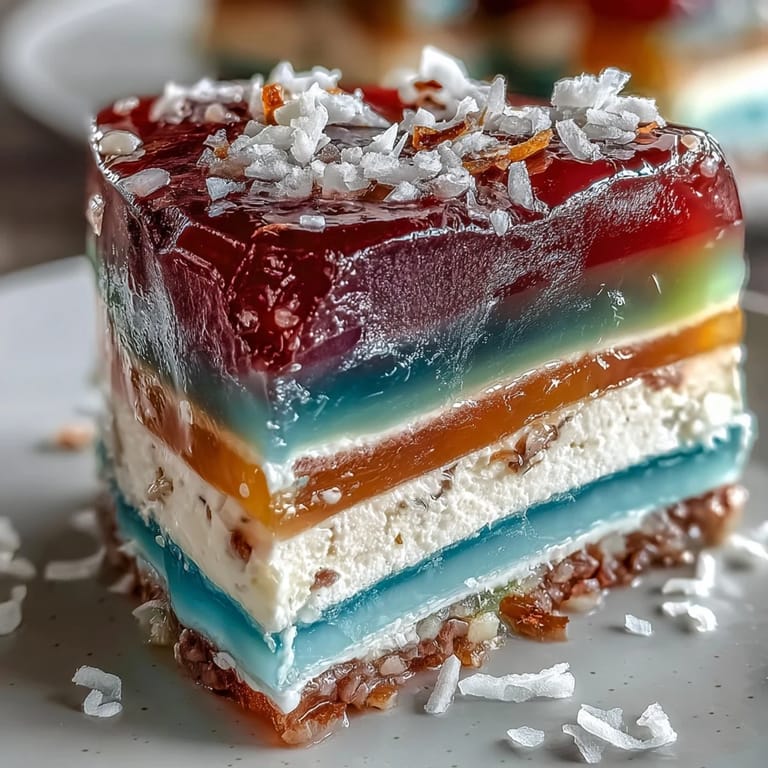
Save The first time I made rainbow jelly cake, it was the quiet whir of the electric fan and the dance of sunlight on my kitchen tiles that set the mood. I never expected how oddly satisfying it would be to pour each vivid layer, holding my breath while the colors mingled but didn’t merge. By the time the coconut layer blanketed the jelly, the smell of sweet vanilla and coconut made the whole room feel like a tropical escape. It’s a bake that rewards patience and reveals its cheerfulness only at the grand unmolding. Watching the clean stripes come out is almost as joyful as the first bite.
I still grin thinking of last summer’s garden party, where this jelly cake stole the show from everything else on the dessert table. Even the kids waited in a polite line just to choose which color slice they wanted, chattering about the blue versus the green. Frosty cold from the fridge, with condensation beading on the serving platter, it disappeared faster than any cake I’d baked before.
Ingredients
- Agar-Agar Powder: Essential for that crisp jelly texture—make sure it’s fully dissolved or the layers won’t hold.
- Water: Use filtered water for clean-tasting base layers.
- Granulated Sugar: Balances the coconut and lets the colors shine through with gentle sweetness.
- Food Colorings: Just a drop or two of gel coloring gives each layer intense vibrancy—stir quickly so it blends in evenly.
- Vanilla Extract: Optional but wonderful for rounding out the sweetness; a teaspoon is all you need.
- Coconut Cream: The thick, rich layer that ties everything together—shake the can before pouring out.
- Salt: Just a pinch heightens all the other flavors—don’t skip it in the coconut layer.
Tired of Takeout? 🥡
Get 10 meals you can make faster than delivery arrives. Seriously.
One email. No spam. Unsubscribe anytime.
Instructions
- Make the Jelly Base:
- Pour agar-agar powder and water into a saucepan. Stir as it boils—the mixture should start to look glossy and slightly thick; keep whisking until no granules are left, then blend in the sugar and vanilla.
- Divide and Tint:
- Carefully distribute the hot, clear liquid into six bowls. Drop in your chosen food colorings and marvel as bold streaks swirl into perfect hues.
- Build Layers:
- Pour the red mixture first, tipping the mold just so to spread it evenly. Wait for a soft jiggle before ladling on the next color—patience pays off here.
- Coconut Cream Layer:
- In a fresh saucepan, add agar-agar powder, coconut cream, water, and salt. Heat gently and stir until completely uniform then add sugar and continue until it looks silky.
- Crowning the Cake:
- Pour the coconut layer over the set rainbow, enjoying the way it settles like velvet. Let it cool completely to room temperature before popping it into the fridge.
- Chill and Release:
- Refrigerate until the cake is very firm. Run a damp knife or offset spatula around the edges, invert, and hold your breath for the satisfying unmold.
- Slice and Serve:
- Slice with a sharp, clean knife—each piece shows off your careful work. Serve thoroughly chilled for the best texture.
 Save
Save  Save
Save There was one humid afternoon when my jelly cake ended up as the main conversation piece, not only for its looks but for the way everyone reached for seconds. When a friend who grew up with traditional agar-agar desserts nodded her approval, I knew the recipe had become something more meaningful in my kitchen.
Playing with Flavor and Color
Sometimes I add drops of pandan or rose extract to the jelly base, and it surprises everyone with a completely different character. Natural food colorings work just as beautifully—try beetroot for pink or turmeric for gold if you’re avoiding artificial dyes. The best part is matching the colors to a party theme or seasonal fruit platter for extra fun.
Equipment That Makes Life Easier
A heat-proof glass bowl lets you see if the sugar and agar have dissolved properly. I’ve found a silicone spatula gets every last stripe of colorful jelly out of the pot, and using an offset spatula around the edges means worry-free unmolding. No fancy cake ring needed, but a shallow baking dish with smooth sides creates the cleanest layers.
What to Watch For As You Work
Humidity can lengthen the setting time of the jelly, so if your kitchen feels warm, be patient or pop the mold briefly in the freezer between layers. Always taste your coconut cream mixture before pouring—it should be pleasantly sweet but not overpowering. If you see bubbles on top, skim them off for perfectly glassy tops.
- If your knife sticks, dip it quickly in warm water and wipe dry for every slice.
- Don’t use metal molds unless you want a metallic aftertaste.
- Chill the cake until very firm, or it may slump when cut.
 Save
Save  Save
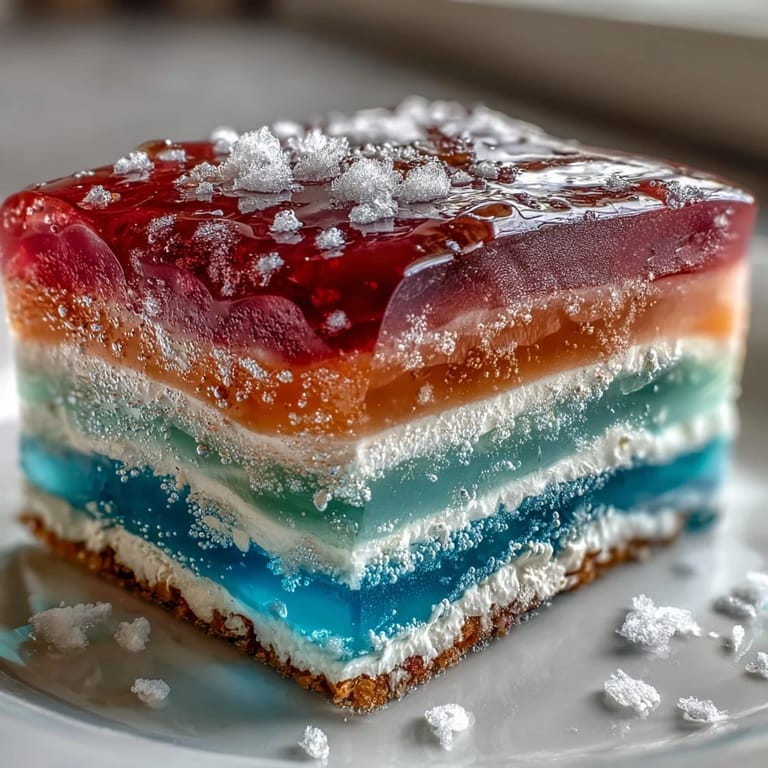
Save Rainbow jelly cake is my kitchen’s answer to both heatwaves and birthdays. Nothing tastes more like summer celebration than a perfect slice catching the light from every angle.
Recipe Questions & Answers
- → How do I ensure agar-agar dissolves completely?
Simmer the agar-agar mixture over medium heat, stirring constantly for several minutes until it clarifies and fully dissolves. Avoid boiling too vigorously; a steady simmer gives best dissolution and a smooth set.
- → How long should each colored layer set before adding the next?
Let each layer cool for 5–8 minutes until it is just set but still tacky on top. This helps the next layer adhere without mixing while preserving distinct stripes.
- → Will the coconut cream layer hold without separating?
Yes—combining coconut cream with a small agar-agar dose and bringing it to a gentle simmer stabilizes the cream. Stir well to dissolve sugar and salt for a cohesive, silky finish.
- → Can I use natural colorings or extracts for flavor?
Natural colorings like beet, turmeric, butterfly pea, and pandan juice add gentle hues and subtle flavor. Rose or pandan extract can enhance aroma; adjust intensity so colors remain vibrant.
- → How should I store and serve the cake?
Keep covered in the fridge for up to three days. Chill fully before slicing into neat wedges or cubes, and use a warm, sharp knife for clean cuts.
- → Any tips for avoiding color bleeding between layers?
Pour layers when the previous one is just set and slightly tacky, not fully hot. Cool the poured layer briefly at room temperature before transferring to the fridge to speed setting without melting underlying layers.