 Save
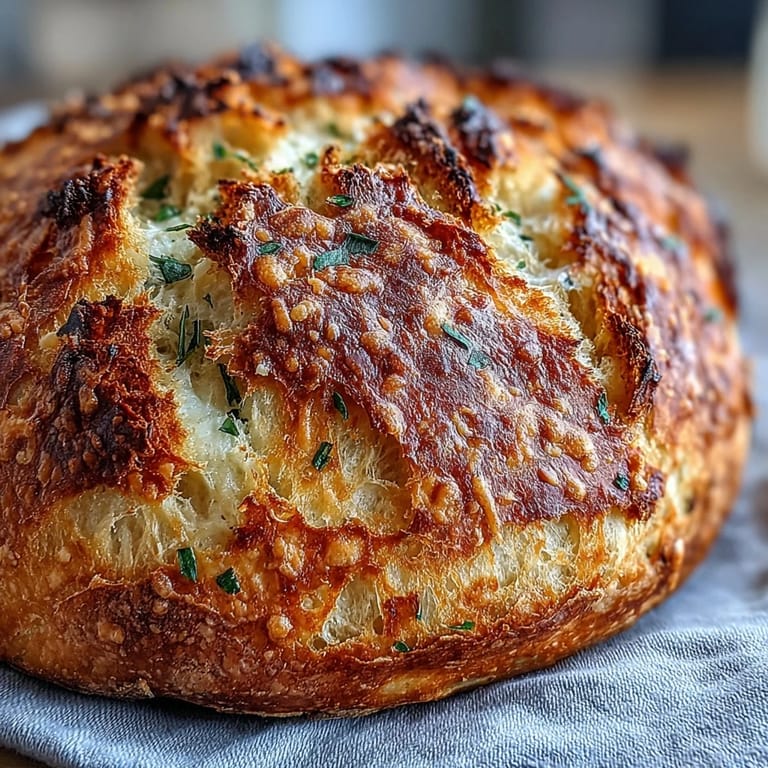
Save The smell of garlic and Parmesan hitting a hot oven still takes me back to my first tiny apartment kitchen, where I learned that patience and yeast could create something magical from almost nothing. I remember making this bread during a particularly brutal winter when comfort came in the form of warm carbs and melted cheese. My roommate at the time wandered in, yawning and questioning the 6 AM baking schedule, then proceeded to eat half the loaf straight from the cooling rack.
I brought this loaf to a friends dinner party last fall, and honestly, the pasta dish took a backseat. People were tearing off chunks, debating whether the cheese pockets or the garlicky crumb were the best part, and someone actually suggested we skip the main course and just order more of this bread. The Dutch oven technique creates such an impressive bakery quality crust that everyone assumes youve got secret professional training.
Ingredients
- 3 1/4 cups (390 g) all-purpose flour: Bread flour would work too, but AP gives a wonderfully tender crumb while still developing enough structure for those gorgeous air pockets.
- 2 teaspoons (10 g) salt: Dont skimp here, the salt balances the rich cheese and keeps the garlic from becoming overwhelming.
- 1 teaspoon (5 g) granulated sugar: Just enough to feed the yeast and help with that beautiful golden brown color.
- 2 teaspoons (7 g) active dry yeast: Instant yeast works fine too if thats what you have in the pantry.
- 1 1/2 cups (360 ml) warm water: Think bath temperature, about 110°F, water thats too hot will kill your yeast but too cold makes it sluggish.
- 2 tablespoons (30 ml) olive oil: Adds subtle richness and helps keep the crumb tender after baking.
- 1 cup (100 g) freshly grated Parmesan cheese: Buy a wedge and grate it yourself, the pre grated stuff just doesnt melt into the dough the same way.
- 2–3 cloves garlic, minced: Fresh garlic might seem strong, but the long bake time mellows it into something sweet and aromatic.
- 1 tablespoon (15 g) chopped fresh rosemary or parsley: Totally optional but adds a lovely herbal brightness that cuts through the richness.
Tired of Takeout? 🥡
Get 10 meals you can make faster than delivery arrives. Seriously.
One email. No spam. Unsubscribe anytime.
Instructions
- Whisk the dry ingredients:
- In a large bowl, combine flour, salt, and sugar, giving them a quick mix to distribute everything evenly before adding the yeast.
- Wake up the yeast:
- Dissolve yeast in warm water and wait about 5 minutes until you see a layer of foam on top, that foam is proof that your yeast is alive and ready to work.
- Bring it all together:
- Pour the yeast mixture and olive oil into the dry ingredients, stir with a wooden spoon until a shaggy, sticky dough forms, it will look messy and thats exactly right.
- Add the flavor makers:
- Fold in the Parmesan, minced garlic, and herbs if using, until evenly distributed throughout the dough.
- Let time do its work:
- Cover the bowl with a clean towel and let it rise somewhere warm for 12 to 18 hours, the dough should double in size and look beautifully bubbly on top.
- Shape with a light touch:
- Turn the dough onto a floured surface and gently fold the edges toward the center to form a round loaf, handling it lightly preserves those precious air pockets.
- The resting period:
- Place the loaf on parchment paper and let it rest for 30 minutes while you preheat your oven to 450°F with the Dutch oven inside.
- Score for success:
- Use a sharp knife to make a shallow slash across the top of the loaf, this guides the expansion and gives you that professional bakery look.
- Trap the steam:
- Carefully transfer the dough with parchment into the hot Dutch oven, cover with the lid, and bake for 30 minutes, the trapped steam creates that incredible crust.
- Reveal the beauty:
- Remove the lid and bake for another 15 minutes until the crust is deeply golden and the loaf sounds hollow when tapped on the bottom.
- Practice patience:
- Cool on a wire rack for at least 30 minutes before slicing, cutting into hot bread can make the gummy texture that nobody wants.
 Save
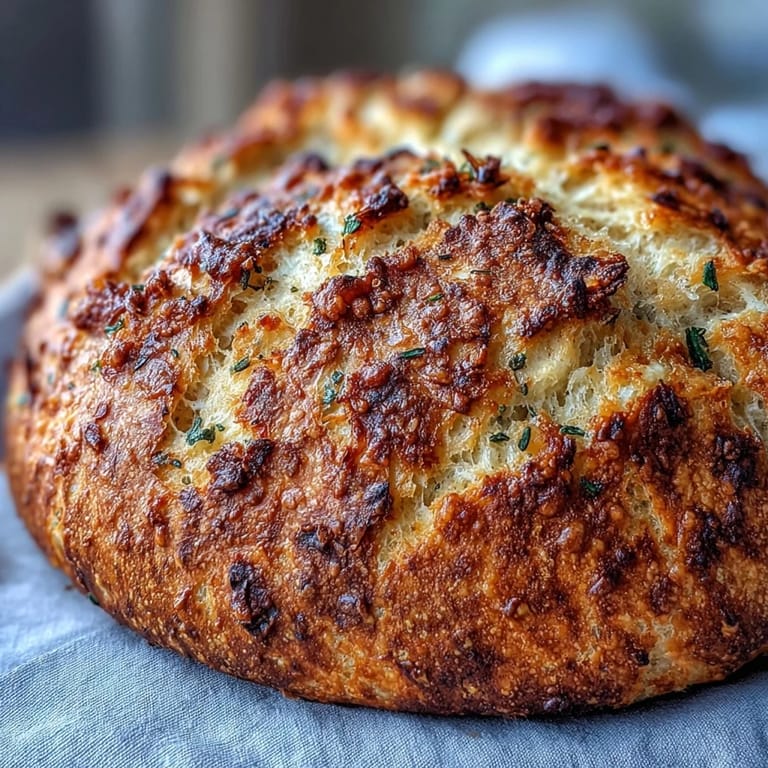
Save This bread became my go to gift during the holidays one year because it looks impressive but requires so little active effort. My neighbor actually asked if I would teach her teenage son to bake it, saying it was the only thing that got him genuinely excited about cooking. Theres something deeply satisfying about serving something that looks like it came from a artisanal bakery but was born in your own kitchen.
The Magic of Dutch Oven Baking
The Dutch oven creates a mini steam chamber in your oven, mimicking the professional steam injected ovens that bakeries use. That trapped steam keeps the crust soft initially, allowing the bread to expand fully before hardening into that beautifully crackly exterior. If you do not have a Dutch oven, a heavy oven safe pot with a tight fitting lid will work just as well.
Make It Your Own
Once you have mastered this base recipe, the variations are endless. Try swapping in sharp cheddar and jalapeños for a Tex Mex twist, or go with Gruyère and thyme for something that feels incredibly fancy. The technique stays exactly the same, you are just changing the flavor profile to match whatever you are craving or serving.
Storage and Serving Suggestions
This bread is best enjoyed the day it is baked when that crust is at its most dramatic, but it still makes excellent toast the next morning. Store it in a paper bag if you are planning to finish it within 24 hours, or wrap it well and freeze for longer keeping.
- Serve it alongside a hearty minestrone or tomato soup for the ultimate comfort meal.
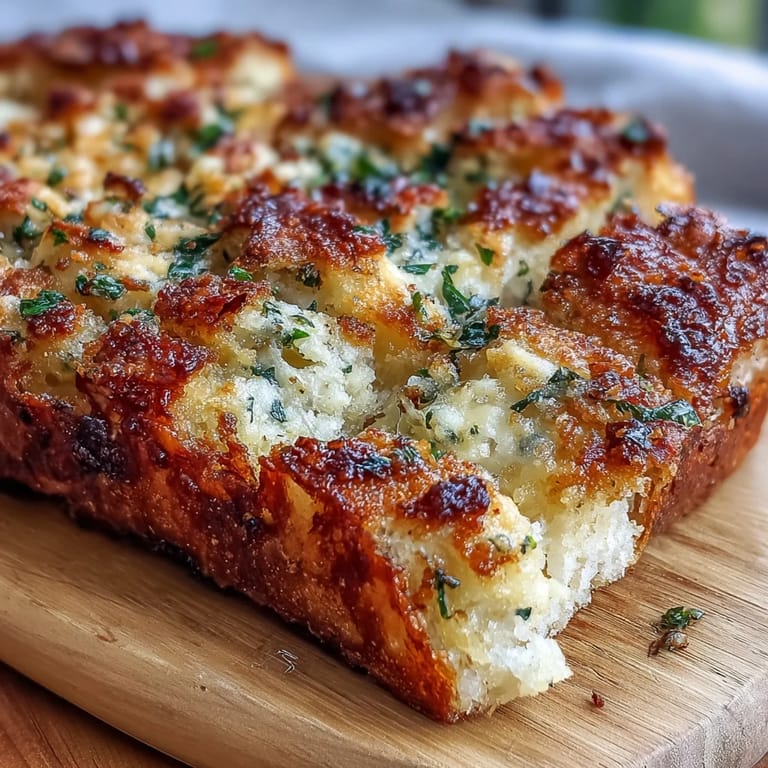
- Use slightly stale slices to make the most incredible garlic bread you have ever tasted.
- Cube any leftovers and toast them for croutons that will elevate your Caesar salad significantly.
 Save
Save Theres nothing quite like tearing into a warm loaf of homemade bread, especially one filled with melted cheese and fragrant garlic. This recipe might just become the one your friends start requesting for every gathering.
Recipe Questions & Answers
- → Can I reduce the rising time?
While possible, the long fermentation is essential for developing the bread's characteristic flavor and texture. A shorter rise will result in a denser loaf with less complex taste. Plan ahead and let it work overnight for best results.
- → What if I don't have a Dutch oven?
You can use any heavy oven-safe pot with a lid, such as a cast iron skillet or ceramic baker. Alternatively, bake on a baking stone or sheet pan, placing a metal bowl of water in the oven to create steam for a crispier crust.
- → Can I use different cheeses?
Absolutely. Asiago, Gruyère, aged cheddar, or Pecorino Romano work beautifully. Each brings its own character—sharp and nutty, or creamy and mild. Avoid fresh cheeses like mozzarella, as their high moisture content affects the dough's consistency.
- → Why is my dough so sticky?
A slightly sticky dough is intentional and desirable for this style. The moisture content creates those coveted air pockets and a tender crumb. Resist adding extra flour, which will make the finished loaf dense. Use floured hands when shaping.
- → How should I store leftovers?
Wrap completely cooled bread in a clean kitchen towel or paper bag, never plastic, which traps moisture and makes the crust soggy. Use within 2-3 days. For longer storage, slice and freeze in an airtight bag, then toast individual slices as needed.
- → Can I make this without fresh herbs?
Yes, the herbs are optional. The combination of Parmesan and garlic provides plenty of flavor on its own. You can also add dried herbs directly to the dry ingredients—use about 1 teaspoon dried rosemary or Italian seasoning.